The Ultimate Home Plumbing Maintenance Checklist: How to Prevent Costly Water Damage
Water damage is one of the most common causes for homeowners insurance claims and nearly all of it turns into a preventable catastrophe that went unseen or ignored. A hosing cracked, a valve rusted, a flapper that slowly unsealed itself; none of these are things that will ever burst into your life with noise and immediacy. They’ll just drip, drip, drip, waste, or weaken a joint, until you’re down a basement and six zeroes in debt. The good news: nearly all of it’s preventable with a maintenance regimen that takes only minutes a week, not hours a day.
This checklist is organized by how often each task actually needs doing because if you treat every task that could use 10 minutes of your time with the same urgency of “every task must be done now”, you’re likely to end up doing none of them. Some things you’ll want to eyeball and jiggle every month. Others will need 30 minutes of your time before the thermometer hits 32 or 95. Others can wait until the once-a-year weekend.
Rearranging your mental categorization of time-sensitive maintenance issues might save your house.
Know Where Your Shut-Off Valves Are Before You Need Them
This is the step everyone skips and the one that matters most. When a pipe bursts or a hose blows off a washing machine, you’ve got seconds to minutes before real damage starts. If you don’t know where the main shut-off valve is, you’ll be standing in an inch of water searching for it while more water pours in.
Read More: Skipton sellers should question agent fees this year
Find the main shut-off valve today. Label it. Then find the individual shut-off valves under every sink, behind every toilet, and behind the washing machine, and label those too. A five-minute exercise now is the difference between a $200 repair and a claim that runs into the tens of thousands. Test each valve by turning it closed and open once a year, because valves that sit unused for a decade can seize up or fail to seal when you actually need them.
Monthly Checks That Catch Small Problems Early
There are a couple that should go on a monthly rhythm, because the failure points they cover degrade quietly and get worse fast as soon as they start.
Clean out drain strainers in the kitchen and the bathroom. Hair, grease, and food particles are behind them, and eventually inside the pipe itself, where they harden into a partial blockage. Follow this with a hot water flush down every drain, which helps break up grease and soap scum before it becomes a clog that needs a plumber. Skip the chemical drain cleaner. Those products dissolve clogs by being corrosive, and that same corrosiveness eats away at pipe walls over time, particularly older metal pipes. A slow leak behind a wall caused by a pipe weakened from years of chemical cleaner is a much more expensive problem than the clog it was meant to fix.
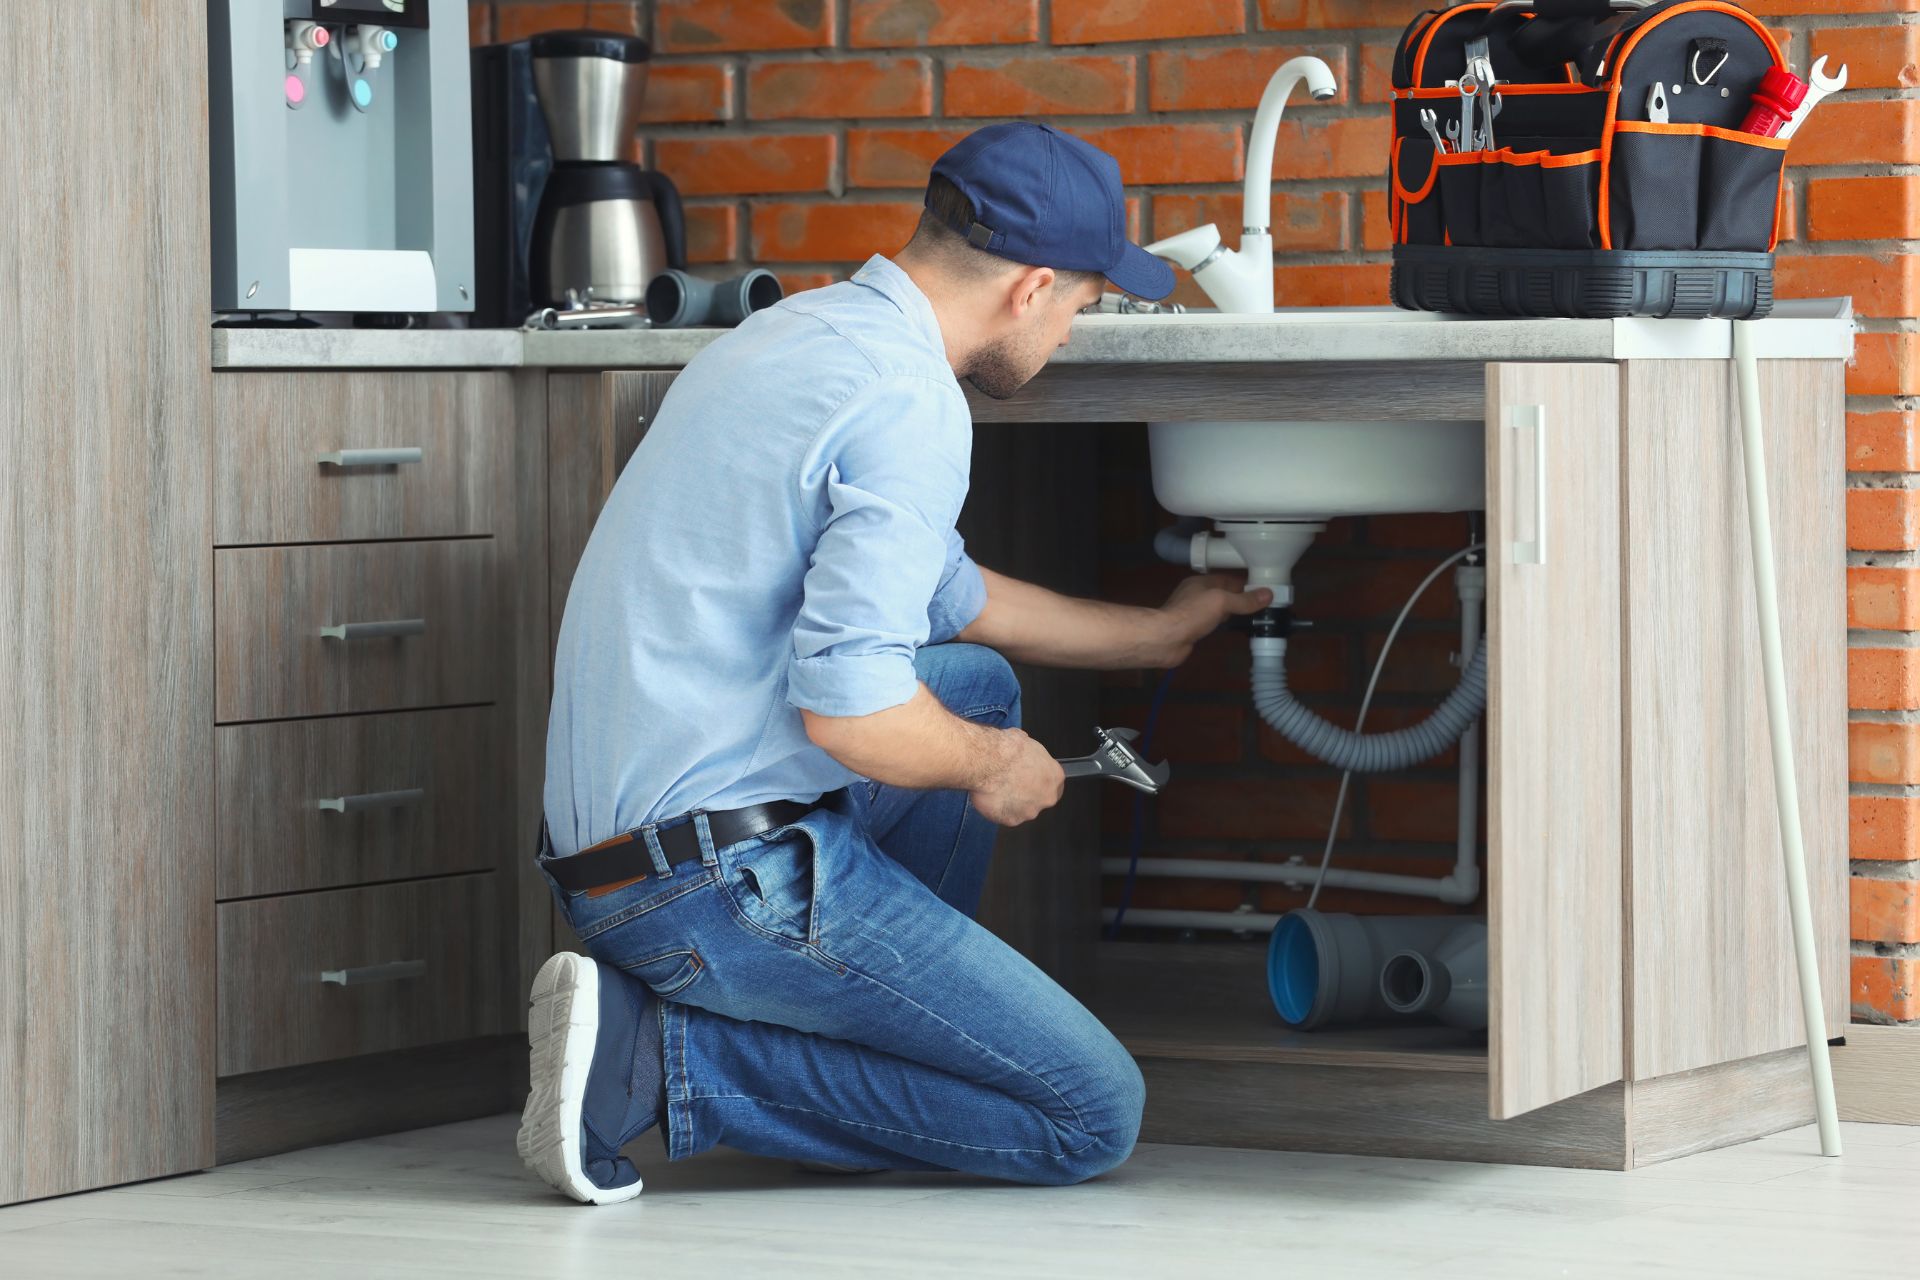
While you’re under the sink, glance at the supply lines and the P-trap for any dampness or mineral crusting. Wet spots on pipes are usually the first visible sign of a leak that’s been running for a while.
Quarterly Tasks: Hoses, Aerators, And Pressure
Every quarter, move the washing machine out and examine the supply hoses. Rubber hoses are constructed so poorly that they can rip from the inside and water pours out within minutes. A burst hose can release hundreds of gallons before you notice it – which is likely to be when your neighbor bangs on your door to tell you she’s having a waterfall in her breakfast nook. Ideally, you had rubber hoses changed to steel-braided ones ages ago: rubber should be pitched after five years at most, and steel should typically last the life of the machine.
This is a good time to test your water pressure, too. Get a gauge that screws onto a garden spigot; ideal pressure is between 40 and 60 psi. Over 80 psi exposes your piping and appliances to unnecessary stress and strain: your water heater is guzzling bills, and the kids’ nightly showers are helping to blast your dishwasher’s door off. If you have a pressure problem, a trusted plumber in Geelong can get a pressure-reducing valve installed at the main, which is a lifetime solution.
And while you’re in that cleaning mode, don’t forget the faucet aerators. Sediment builds up in there, choking off the flow. They should be removed and cleaned, and the amount of debris you see will shock you. In some parts of the country’s hard-water areas, it’s akin to a mineral treasure hunt. Just unscrew the aerators and let them soak in vinegar for a few minutes.
The Toilet Test Almost Nobody Does
Every 6 months or so, put some food coloring in the toilet tank and don’t flush for 15 minutes. If the color appears in the bowl, the flapper isn’t sealing, and you’ve got a silent leak. A worn flapper doesn’t just waste water. It runs constantly, and that continuous flow can slowly damage the wax seal and flooring around the base of the toilet, leading to water damage that’s often only discovered once the subfloor is already soft.
These kinds of leaks are more common than the average homeowner realizes. One water efficiency research program estimated that the average household wastes close to 10,000 gallons a year to undetected leaks, and about 10% of homes have a leak bad enough to waste 90 gallons or more per day. Most of those are exactly the kind you can catch with a dye test or a hose inspection.
Annual Maintenance For Your Water Heater And Sump Pump
Annually drain a couple of gallons from your water heater to flush out sediment that causes it to work harder and corrode. While you’re there, test the temperature-pressure relief valve by quickly lifting the lever. Water should discharge through the overflow pipe. A T&P valve that doesn’t work or is stuck is one of the major causes of tank failure. And a failure is a messy, expensive, and most likely avoidable disaster.
Read More: How to Prevent a Minor Plumbing Leak from Becoming a Major Disaster
If you have a sump pump, the annual test is equally easy. Before the season’s first storm hits, make a point to pour a bucket of water into the sump pit and watch for the float switch to turn on the pump and begin evacuating water. Sump pump failure is the leading cause of basement flooding, and the frustrating pattern is that most pumps fail on that first storm of the year – not after a year of disuse. Remember that water in the basement isn’t something anyone wants to experience or pay to remediate.
Where DIY Stops And A Professional Needs To Step In
There’s only so much you can handle yourself with a flashlight and a wrench. Corrosion inside a wall. A slab leak under the foundation. Tree roots creeping into a sewer line – these aren’t things you’re going to catch on your own, and they sure don’t fix themselves while you wait.
This is where a yearly visit from a licensed plumber earns its keep. They’ll run through the whole system, but honestly the part that matters most is the camera they send down your main sewer line. It’s really the only way anyone finds root intrusion or a pipe on the verge of collapsing before it becomes a full-blown backup. The same logic applies if your water pressure keeps dropping and you can’t figure out why, if stains are showing up on a ceiling or wall out of nowhere, or if your water heater is getting old enough that you’re wondering how much time it’s got left. At that point, stop troubleshooting and just make the call – whatever a plumber charges to catch a slab leak or a dying heater early is nothing compared to what you’ll pay once it actually goes.
And since you’ll already have someone out, it doesn’t hurt to ask about leak detectors too. They’re cheap, battery-powered sensors you tuck near the water heater, the washing machine, or under a sink, and they’ll alert you the moment they pick up moisture. Some even connect to a shut-off valve that kills the water automatically the second a leak’s detected – doesn’t matter if you’re home or not. Considering how fast a burst hose or a failed heater can wreck a house, that’s the kind of head start that actually saves you money.
Don’t Forget The Outside Of The House
Before that first hard freeze hits, disconnect your garden hoses and drain them – same with exterior faucets, shut them off and let them drain too. Left connected, water sitting in that line can freeze, expand, and crack the pipe without you knowing until spring. Pipes in crawl spaces, garages, unheated basements – anywhere cold air can get at them – should get wrapped in insulation sleeves. Cheap fix, and if you’ve dealt with a frozen pipe before, you already know it’s worth doing before you’re reminded the hard way.
Gutters aren’t really “plumbing,” but they’ll cause the same kind of damage if you ignore them. Once they’re clogged, water stops flowing where it’s supposed to and just spills over the edge, pooling right up against your foundation instead of getting carried away from the house. That’s how you end up with damp creeping into a basement months later and no idea where it’s coming from.
Twice a year, clear them out – more if you’ve got trees hanging over the roof – and check that your downspouts are actually pushing water a few feet away from the house, not just dumping it at the base of the wall.
Building The Habit Is The Real Fix
While it may sound like a pain, these things really are easier when kept up with than they sound. None of the tasks – at least if you’re thoughtful about them – are particularly hard. But it’s scheduling them to get them done that’s the key.
Put the quarterly and annual tasks on a calendar reminder, keep the monthly ones tied to another routine chore, and the whole system runs itself. A house that gets checked regularly rarely produces the kind of surprise that ends up costing thousands of dollars and weeks of repair work.